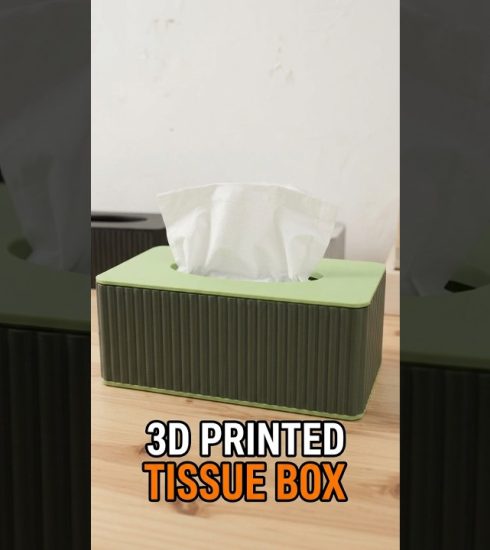
Sublimation printing on 3D prints? #3dprinting

What should I press next?
I think it’s neat figuring out how to combine different mediums or art styles that don’t typically go together. After looking online and realizing that sublimation printing could work with 3D printing, I had to give it a try. From some of the videos I watched there was mixed results with sublimation transfers and 3D prints, but the WonderPress was the key to getting it consistent because it was able to apply even heat and pressure to make the transfer come out super clean.
If you want to try sublimation transferring to 3D printed items yourself, I’ll include my settings and a step by step guide below:
WonderPress Heat Press Module settings:
Temperature (C): 170
Pressure (KG): 20
Time pressed (Sec): 30
1. Prepare & print the 3D model.
– I found better results with light coloured (white preferably) PETG over PLA because of it’s higher heat tolerance.
– Also I would suggest doing this with flat models because the model will deform from the heat slightly (mine increased by 0.8mm around the edge).
2. Print out your sublimation image you want to transfer.
– Make sure the image mirrors itself while printing or else it the image will be backwards after the transfer.
– If you don’t have a sublimation printer check out your public library, mine had one free to use, so that was easier for testing things out.
3. Line up your image (ink side towards the 3D print) to where you want it placed.
– If you have a design that is smaller than the 3D print I suggest still cutting out enough paper to cover the whole object because otherwise there will be an indent in the 3D print in the shape of the paper.
4. Heat Press your sublimation paper & 3D print.
– It is possible to do with other heat sources like a clothes iron, or hand held heat press, the main limitation is heat consistency and even pressure (I have only tried it with the WonderPress).
– I used a sheet of parchment paper on the top and bottom of everything being pressed for safety and so the sublimation ink doesn’t go undesired places.
5. Immediately after the heat press is done, remove the pressed item (be carful it’s hot) onto a flat surface and place a heavy flat object on top until it fully cools down.
– This is needed for 3D prints because when they cool after being heated up they can deform.
– Some times the back of the 3D print might be slightly deformed or wavy, but the front side will be extra smooth from the heating up process.
6. Wash and scrub the sublimation paper off the 3D print in a bowl of room temp water
– The sublimation paper will be stuck to the 3D print, so water and scraping will remove it. Don’t worry, the water doesn’t effect the ink or hurt the 3d print.
– I just scraped it with my fingers like in the video, but I bet you could use something else to help scrap it off too.
7. Dry fully and enjoy!
– I am not an expert, but I hope my trial and error’s help you out!
The xTool WonderPress is an all-in-one creative bundle with so many possibilities to explore. Stay tuned for my upcoming projects!
Gifted by xTool. This is an affiliate link, which means I may earn a commission at no additional cost to you:
🔗 https://xtool.pxf.io/m4bMga
@xtool.official
#xtoolwonderpressit #xToolWonderPress #3DPrinting #DIY
source