

How to make custom watch dials – fiber laser engraving and Lightburn 3D slice
Making Your Own Watch Dial – Custom Watch Dial on a Fiber Laser with 3D slicing in Lightburn (full video)
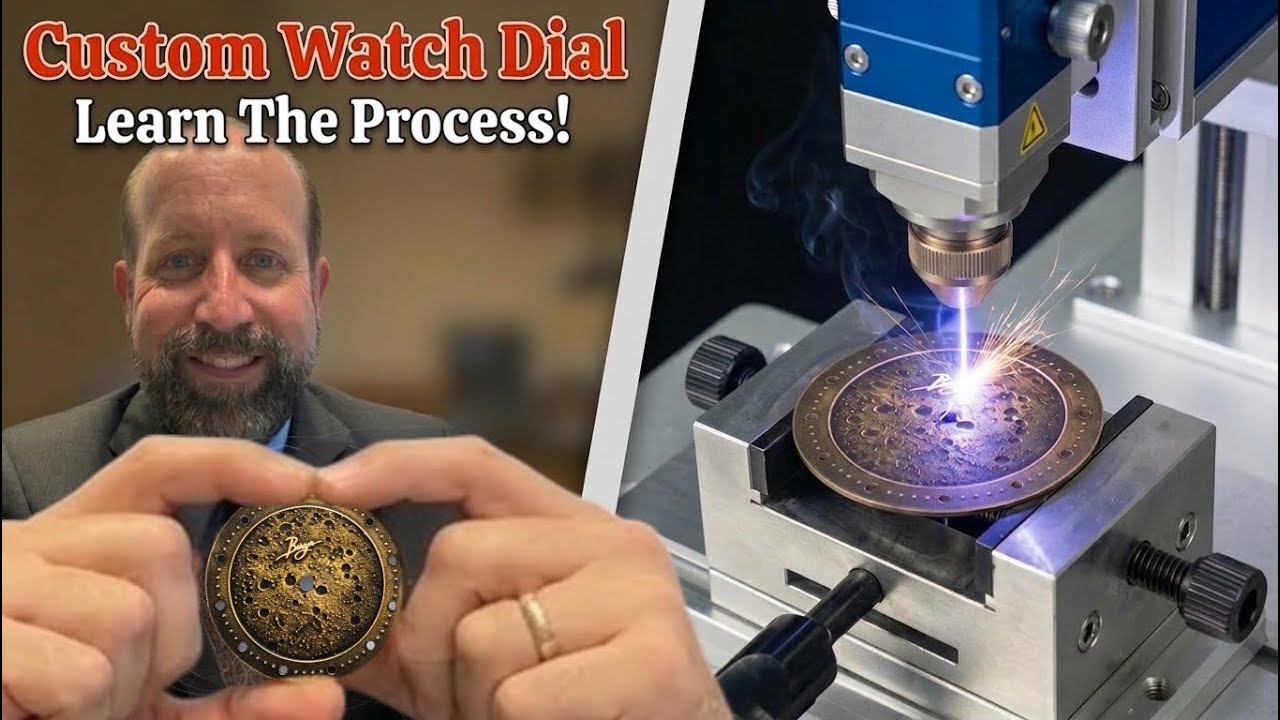
In this video, I make a 33mm brass watch dial using Lightburn with a 3D sliced, 300 pass moon surface image. The dial takes about 4 hours to output and about another 2 to 3 hours to complete afterwards. I end up ruining my first dial with too much paint and so I make a second one (off camera using the same process as the first) except instead paint I use a chemical call Brass Black to color it and it really looks a lot better.
I also added some glow in the dark pips (hour markers). I also sealed the dial with a transparent ceramic coating to help prevent it from tarnishing later.
The brass blank is .7mm thick; a regular watch dial is .5mm thick so if you use a thicker metal you’d have to raise the hand height slightly. If I run hands to the pips I installed I would have to run quite a bit higher. In this case I didn’t build this into a watch as this build was specifically for this video.
The fiber laser is a Raycus 50W fiber laser that I’ve had for about 2 years. It works really well for me. I run Lightburn but it can also run EZCad.
Thanks for watching my video and reading the description. Please consider subscribing if you are not already subscribed.
Also if you don’t mind leaving a comment about what you thought of the dial or my laser I’d appreciate the interaction on the video. Thank you.
#watch #watchdial #customwatch
#bargerwatch
Website: BargerWatch.com
This video provides a detailed walkthrough of creating a custom brass watch dial using a fiber laser and LightBurn software (0:00). The process begins with determining the appropriate watch dial size based on the watch case.
• Materials and Tools:
• Brass blanks: The video uses .7mm thick brass blanks (1:00).
• Fiber Laser: A Raycus 50W fiber laser is used, running LightBurn software (Description).
• Calipers: Used for precise measurements of the brass blank (1:04).
• Design and Laser Settings:
• The design featured is a 3D sliced image of the lunar surface (1:26).
• Engraving settings: 300 total passes, 60,000 mm/minute speed, 75% power with a 20% minimum (1:47). A smaller line interval (0.003) and dot size (0.004) are recommended for smoother 3D sliced images (2:37).
• Outer ring settings: 40 passes (2:02).
• Hole cutting settings: 6,000 mm/minute speed, 80% power (2:09).
• Angle changes: Changing the angle by 12 degrees during scanning passes creates a smoother pattern (4:56).
• Cleaning pass: A higher speed, lower power, higher frequency pass to clean off burned areas. Wobble should be turned off for cleaning passes (7:54, 9:08).
• Circular cuts: Very low and slow settings (75-80% power) are used for circular cuts, typically 20-40 passes (10:44).
See more at bargerwatch.com or follow me here @BargerWatch or on instagram @bargerwatch
Check out my other popular watch videos:
Making a custom watch dial – DIY Watch Dial using a Fiber Laser and 3D Lightburn
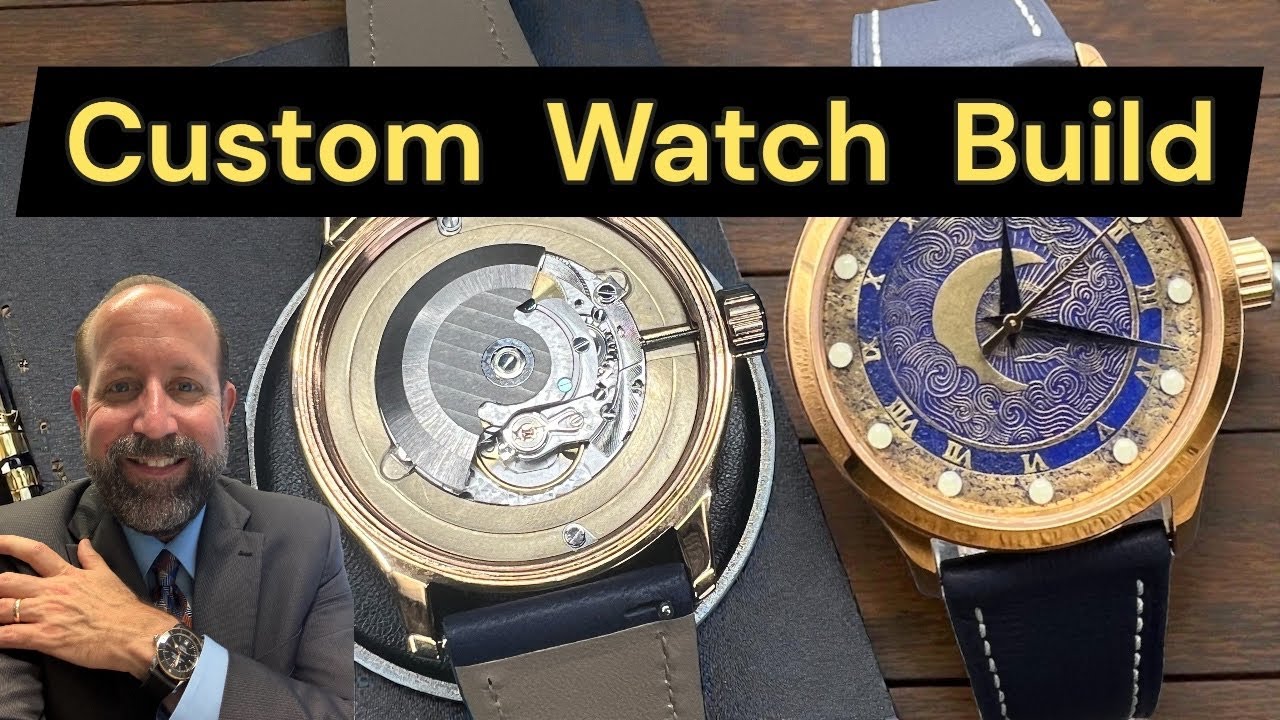
Custom Watch Dial and Custom Watch Build – with the same Swiss Movement as a $2000 watch

Custom watch dial and building an Automatic watch. How I built this one.
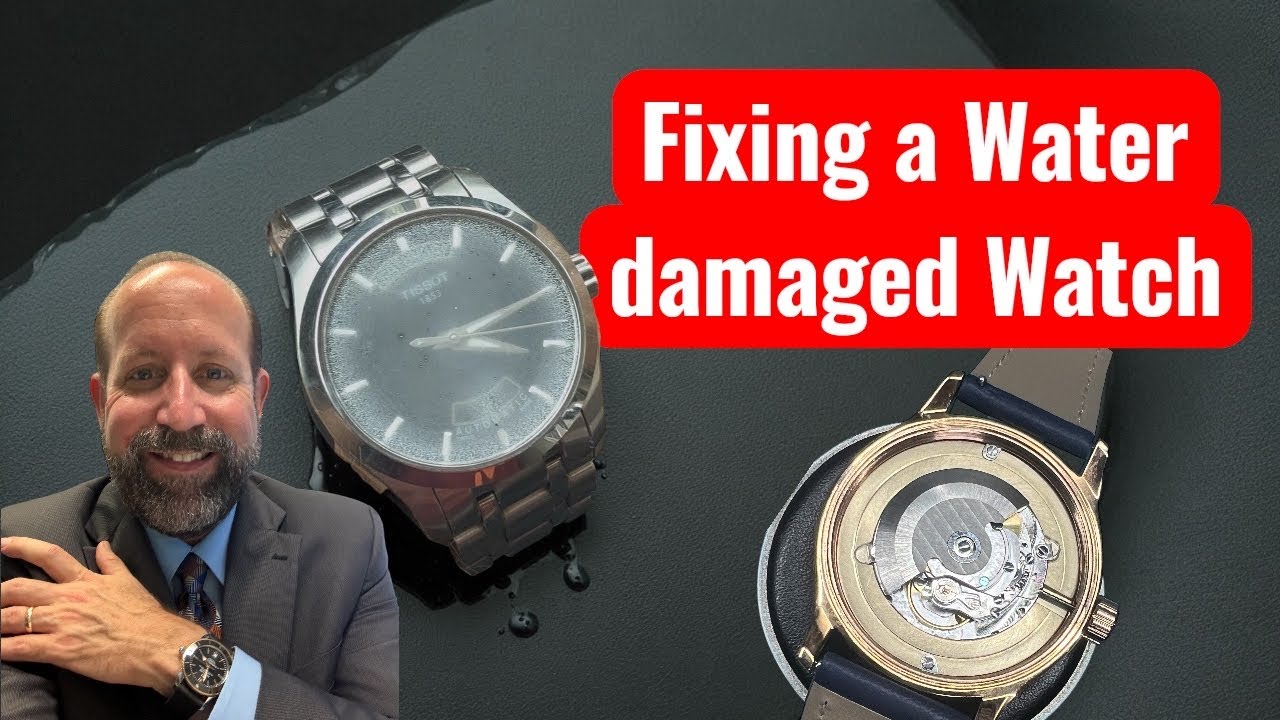
Ruined or Fixable? Tissot Day/Date Water Damaged Disaster
Rushed for time? Check these shorts on watch dials:
How to make custom watch dials – fiber laser engraving and Lightburn 3D slice
Making a Custom Watch Dial and Custom Automatic Watch – fiber laser engraving watch dial #watch
How to Make a Watch Dial on a Fiber Laser for a custom watch
Making a Custom Watch Dial using a Fiber Laser
source