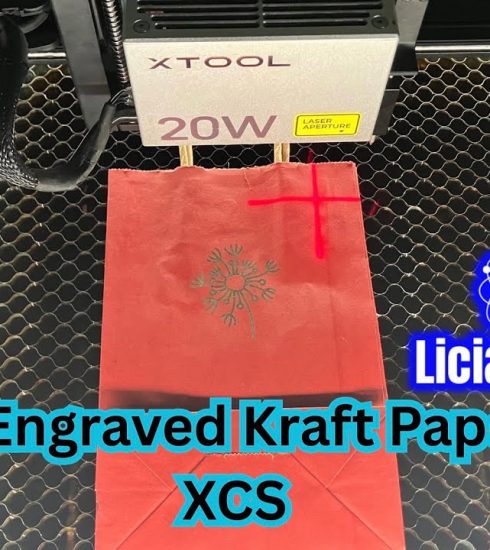
Easy Paint Fill Wood Engravings

Wood engravings don’t always produce a bold, even result. Natural variations in wood grain and color can leave some areas looking light or faded, making your finished project less impressive than you hoped.
In this video, I’ll show you a quick and easy way to improve the appearance of those engravings using a simple black acrylic paint fill. As an example, I revisit one of my very first YouTube projects—a cutting board with faded engravings—and walk through the entire paint fill process step by step.
You’ll see how easy it is to apply the paint, clean up the surface, and dramatically improve the contrast of the engraving. At the end of the video, I’ll compare the before-and-after results so you can decide if this technique is right for your own laser projects.
If you’ve ever been disappointed with a light or uneven wood engraving, this simple paint fill method may be just what you need to give your projects a professional-looking finish.
https://buymeacoffee.com/dglasercraft
👉VIDEO LINKS:
Engrave a Photo of a Recipe to a Cutting Board | Beginner Laser Project 1: https://youtu.be/ZEKmBIA5SHI?si=eCVfvxiXlQNVIMeh
👉AFFILIATE LINKS:
Laser Safety Glasses (OD 8+ 190nm-550nm / 800nm-1100nm Wavelength): https://amzn.to/4dpVYvs
👉NON-AFFILIATE LINKS:
xTooL Studio (formerly XCS) | NON-AFFILIATE LINK: https://support.xtool.com/download (this software is free and will control all xTooL lasers) (XCS will still control older model xTooL lasers but will no longer receive updates – all future updates will be for xTooL Studio only – see https://www.xtool.com for more information)
Lightburn download page (30-day trial – full version) |NON-AFFILIATE LINK: https://lightburnsoftware.com/pages/download-trial
👉 CHAPTERS:
0:00 Tutorial info
1:12 Easy paint fill
7:55 Review & comparison
8:30 Closing
source