
5 fun nerdy hobbies that you can start doing for cheap right now
Getting into a new hobby can be daunting. Enthusiasts brag about spending thousands on fancy bits of equipment, while you’re still trying to figure out if you’re going to stick with it long-term.
Thankfully, you can start tinkering and making things for a relatively small investment these days.
3D printing
Printers are easier to use and cheaper than ever
You can buy a cheap 3D printer brand new for a few hundred dollars, or spend a comparable amount on a used model to get even more bang for your buck. Buying used is arguably the best way to go, since you always have the option of selling the printer for the price you paid (or slightly less) to trial the hobby risk-free.
Admittedly, 3D printing feels less like a hobby and more of a means to an end. Many see it as a way of getting more out of your existing hobbies and equipment like power tools, but it’s hard to deny that the act of creating physical items from digital files really gets under your skin.
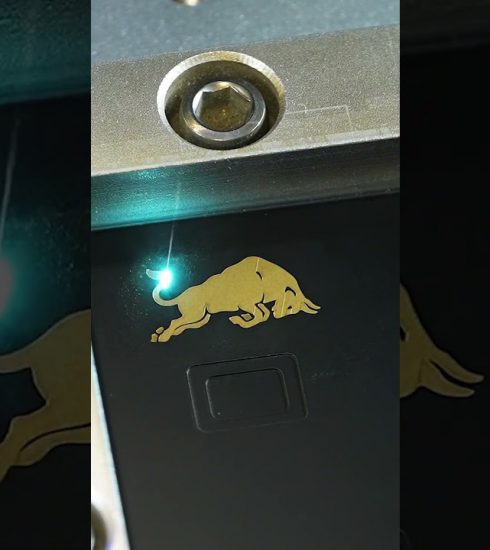
For all its faults, Bambu Lab offers some excellent value printers that make calibration and maintenance a breeze. The A1 and A1 mini offer no-fuss printing for around $300. Spend a bit more on a P2S ($549) for a fully-enclosed printer. Other brands like Elegoo with its Centauri Carbon 2 tackle an altogether cheaper price point.
-

- Build Volume
-
256 × 256 × 256 mm
- Connectivity
-
Wi-Fi
The ELEGOO Centauri Carbon 2 builds on the solid foundation of its predecessor and adds an affordable, effective multicolor system to the mix.
-
- Build Volume
-
256x256x256mm
- Printing Speed
-
600mm/s
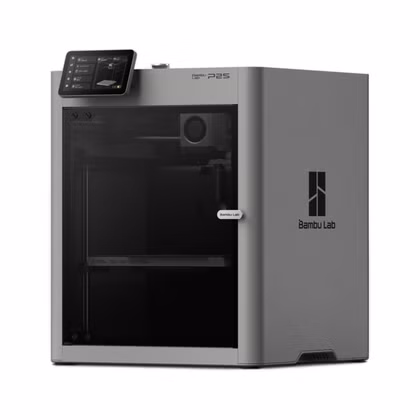
The Bambu Labs P2S 3D printer is ready to go out of the box and can have you printing within 15 minutes. It features up to 20-color printing with the AMS unit, has an upgraded built-in camera for remote monitoring and time lapses, and has an enclosed body for printing even high-temperature filament.
Microcontroller-based electronics
Projects start at $5
Espressif’s microcontrollers, particularly the ESP32 and its predecessor the ESP8266, have made hobbyist electronics accessible to a wide audience. Starting at $5 or less, the ESP32 is the perfect starting point for DIY smart home sensors, interactive toys, and even E-Ink projects like photo frames.
For smart home projects in particular, the excellent ESPHome framework makes getting started easy. You can skip soldering and use breadboards for projects, or take the opportunity to invest in an inexpensive soldering iron and finally learn how to use it. Many ESP32 projects combine perfectly with a 3D printer too.
The hardest part is figuring out which ESP32 model you should buy. Ideally, you should be guided by whatever guide you’re following or specific features you need. There are models like the C6, which features mesh networking in the form of Zigbee and Thread, or the S3 with its dual-core processor.
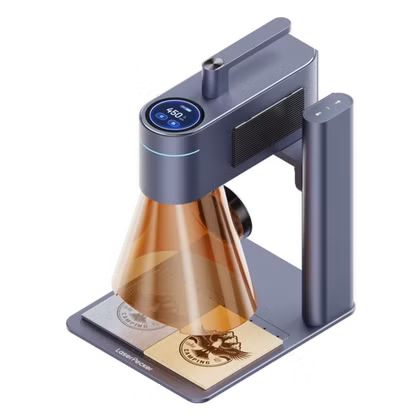
Laser engraving
Start charging your laser (to a payment method of your choice)
I’ll admit that I don’t know a lot about laser engraving, but I have a colleague who does. How-To Geek’s Patrick Campanale has quite a bit of experience in the space, having used and owned many (he even had to build three of them himself).
The good news is that laser engravers have never been so affordable. To quote Patrick: “For $600, you can get a 10W laser with built-in air assist, two cameras, and a fully enclosed build.” This is comparable to the price of a 3D printer, though Patrick recommends avoiding two-in-one 3D printers that can do both jobs like the Bambu Lab H2D for now.
You can make all sorts of unique, useful, and memorable items with a laser engraver. It’s a great way to personalize items for gifting, stamp your mark on something for your own home, or even start or augment a small business. Today’s laser engravers are so small and easy to use you can even take them with you to markets and fairs and offer engraving for an additional fee.
-
- Brand
-
xTool
- Laser Power
-
10W blue light diode, 2W IR
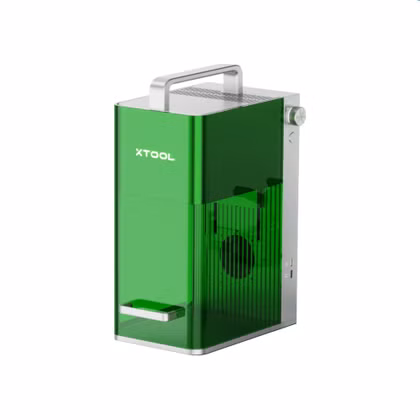
The xTool F1 dual source laser engraver is a great portable system for beginners and pros alike. It has a 10W blue light diode laser, which works well on materials such as cork, wood, leather, and more. There’s also a 2W IR laser that’s perfect for marking metals and slate.
-
- Brand
-
LaserPecker
- Laser Power
-
10W blue light, 2W IR
The LaserPecker LP4 laser engraver offers a wide range of marking and engraving capabilities. With a dual laser source design, it features a 10W blue light diode and a 2W IR laser to mark all sorts of materials, from wood and rock to metals and plastics.
Building a smart home
Use hardware you already have lying around
I put off starting a smart home for a long time due to the perceived cost, but that was before I realized that Home Assistant was the way to go. As someone who uses an iPhone, Mac, and Apple Watch, I thought that Apple Home would be the best choice. Thankfully, the cost of Apple’s approved accessories delayed my adoption.
You can run a Home Assistant server on virtually anything. While a mini PC is arguably the strongest candidate, an old laptop is just as good for starting out. You don’t even need to commit to anything or buy any accessories since Home Assistant is free and rewards curiosity. Just messing around with the platform was enough to convince me to commit fully.
When it comes to kitting out your home, there are companies like IKEA that sell surprisingly affordable plugs, lights, and sensors. You can build your own sensors for cheap using aforementioned ESP32 microcontrollers. The platform’s commitment to openness and interoperability means you can shop around for accessories at a price that won’t make you wince.
-
- Brand
-
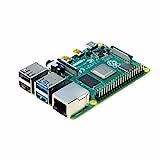
Raspberry Pi
- CPU
-
Cortex-A72 (ARM v8)
With the Raspberry Pi 4 Model B, you can create all kinds of fun projects, and upgrade gadgets around your home. Alternatively, install a full desktop OS and use it like a regular computer.
-
- Dimensions (exterior)
-
4.41″L x 4.41″W x 1.26″H
- Weight
-
12 Ounces
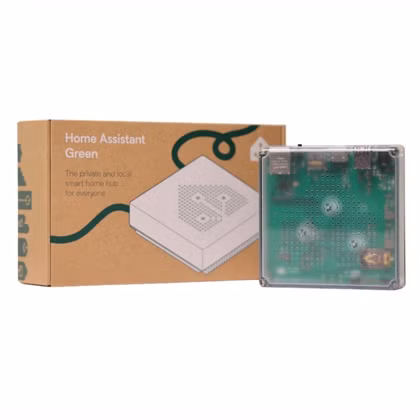
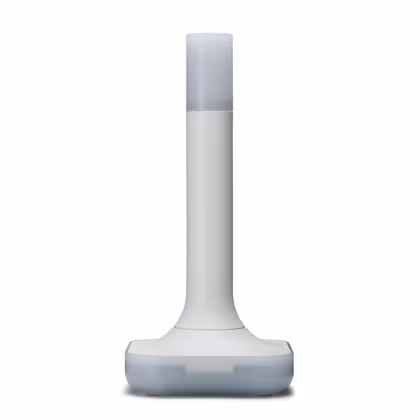
Home Assistant Green is a pre-built hub directly from the Home Assistant team. It’s a plug-and-play solution that comes with everything you need to set up Home Assistant in your home without needing to install the software yourself.
-
- Dimensions (exterior)
-
83x83x179mm
- Weight
-
157g
The Home Assistant Connect ZBT-2 supports both Zigbee and Thread, although it must be set up for use with either one of the two protocols. It offers 4x the responsiveness of the previous model, and is designed to be easy to open for modding, with accessible pins and pads.
Starting a homelab
Self-hosting can even save you money
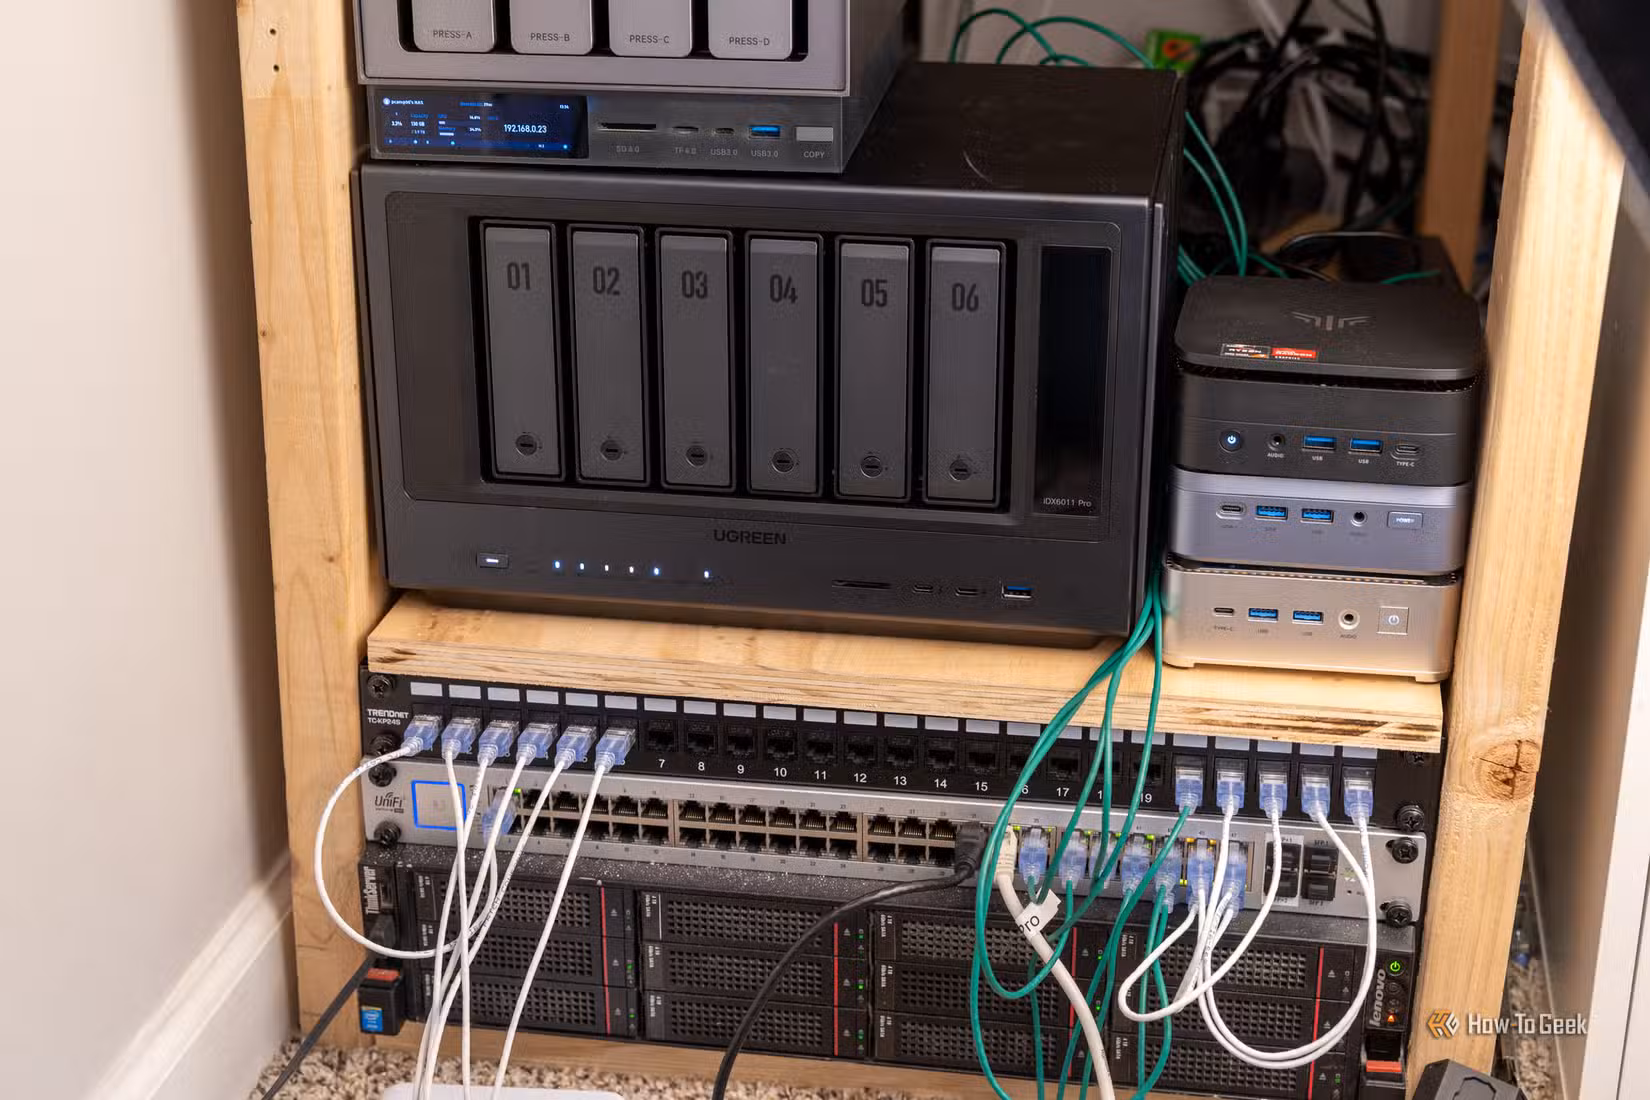
A homelab is a computer lab that operates within your home. You can build your own homelab with an old computer or single-board computer like a Raspberry Pi and a standard home router. The term has become synonymous with self-hosted products and services.\
Homelab projects include running a DNS sinkhole like Pi-hole, creating a network-attached storage (NAS) drive, making media available over the network using server software like Plex or Jellyfin, and replacing remotely hosted services with ones that you run on your own in-house hardware. The key is that your homelab should always be running, online, and accessible at all times.
Starting a homelab with an old computer you’re not using could actually save you money. Replace your pricey budgeting app with one that saves you $150 a year, ditch Google Photos or iCloud Photo Library for Immich and pay once for the storage you need, create your own Spotify alternative to stream music you already own, and replace cloud and office suite subscriptions with NextCloud.
It’s hard to justify spending a lot of money on a new hobby, and thankfully you don’t have to. Many of the resources that can help you develop these hobbies can also be had for cheap or free, like 3D modeling software and the endless number of ESP32 build guides on the web.