
How to Fill Wood Laser Engravings with Color! 🖌 #laserengraving #lasercraft #lasercut #lasertips
Step 1 – Download Harry Potter Deathly Hallows File – https://designsbylaserlady.etsy.com/listing/1782666944/nerdy-wizard-witchcraft-hallows-symbol
Step 2 – Next, laser cut out your project! I suggest solid wood, you’ll see why in a moment.
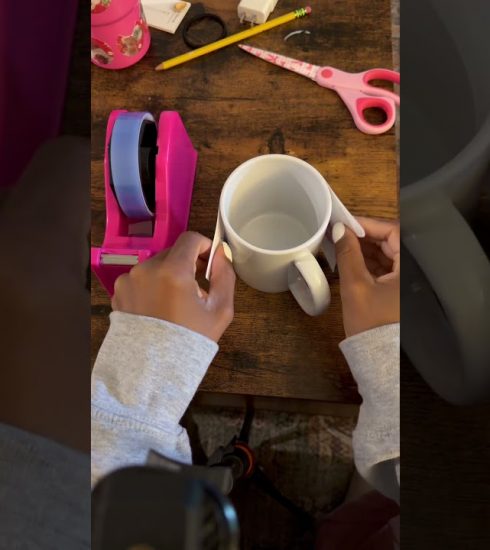
Before you engrave and cut the design, be sure to put masking tape on the area of the wood. Using a hard edge, rub the tape down to get rid of any bubbles.
Once completely adhered, engrave the design deeply. You may need to go over the engraving more than once if you have a lower powered laser.
The Deathly Hallows Design also has a vector engrave line. This is to be a low level cut line to make the edges of the engraving stand out.
Step 3 – Start the Paint Process
The engraving will absorb a lot of paint, so I suggest starting out with dark colors. I will be using black spray paint to fill in the engraved areas.
If you want to fill the engraving with a lighter color, check out This Post about Primer.
Once it is completely dry, remove the masking cover.
Step 4 – Prepare Surface
There may be some seepage from the paint underneath the masking layer. This can be removed with a light sanding.
Once you get all the imperfections sanded away, blow off any dust and give it a coat (or 2) of a glossy sealer spray.
Step 5 – Complete Your Piece
I am turning this into a pin. Using some Aleene’s Jewelry Glue and a Tie Back Pin, this piece is ready to be gifted, sold or kept!
If you sell these, you will find they do really good around the holidays or at comic conventions!
source